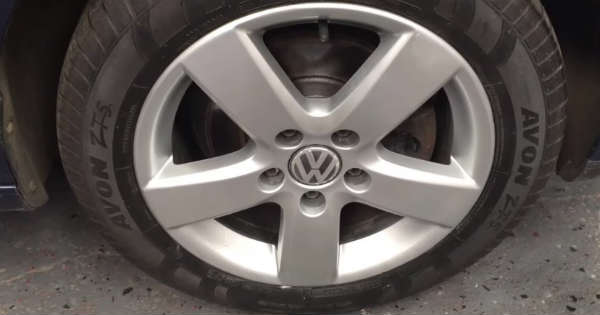
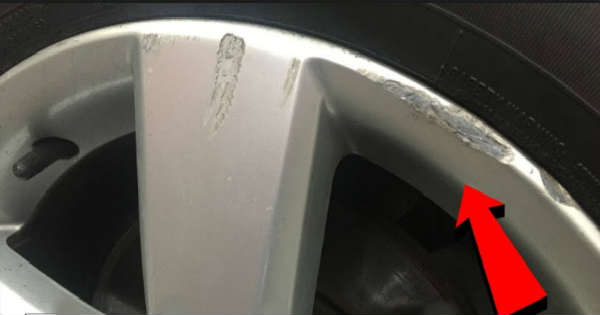
In this one, a YouTuber that goes by the name of Mad4Motors teaches us how to do an easy DIY curb rash repair on any type of wheel rim. It’s a complete step-by-step guide on repairing scratches and various curb rash damage. The great thing about this technique is that you can do this at home and it’s pretty inexpensive costing you only a very small amount of dollars. You don’t even have to take away the wheel off the car.

First you need to sand the damaged area with a sand paper. Using coarse sandpaper will sand out the cuts, jagged edges or scratches until they are fully smoothed out. Up next you need to apply the sand finishing stopper into the deeper scratches. He uses U-POL Top Stop Gold. At this stage you don’t need to be perfect.
The most important thing in this stage is to fill as much as you can. Up next, you need to wait for 30 minutes before you sand again. To make sure the sand finishing stopper is hard enough you should put your nails in it and if it doesn’t leave any marks it’s ready for sanding.
Up next, this guy uses a 180 sand paper on the heavier scratches. You will immediately see significant repair done on your wheels at this stage by using this fascinating DIY curb rash repair technique.
One very creative solution we found in this technique is that this guy is actually using playing cards as a mask. We can safely describe that as ingenious. H also uses a Ia7w paint shade which happened to be a perfect match.
At last, here are some tips on how to repair car paint scratches.


