

The internet is a lovely place to find out new ideas and tutorials, tutorials in which you are going to learn something new and something that you might find some future use. Hereby, we take a look at this video in which we see how a car fender rust repair process looks like and all of the steps it takes to actually do it. The first thing that you need to make sure is that you have the exact color as your car. If you want to save couple of hundreds of dollars, you can use a common spray paint can.
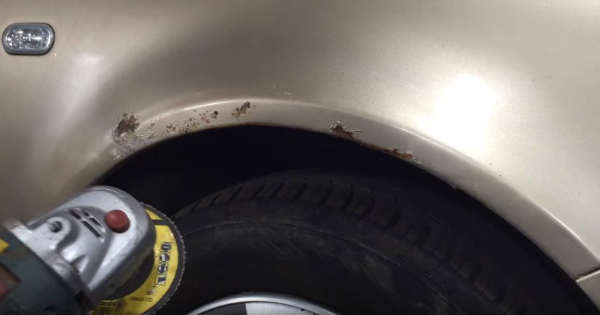
The car fender rust repair process begins by taking an angle grinder and sanding down all of the rust that you can possibly find and see. Do this nice and slow and make sure that you do not miss any spot.
Next, take 180grid sandpaper and prepare the surface for the body filler. Apply generous amount of it and line it up with the lines of the fender. It should take about 30 minutes before it is fully dry.
In the next few steps, lots of sanding is going to be required. You are going to start from 80grid sandpaper and go all the way down to 180grid.
After slightly sanding the whole fender down and masking the other parts of the car, it is finally time to paint it. Use couple of coats of primer and let them to dry, before applying the color. If you want to see how the finished piece looks like, check out the full video!
Finally, check out this awesome DIY wheel alignment.


