

Personalizing your car has no limits as there are many different things that you can do to so many parts on your vehicle. One of the most popular and easiest ways to customize your car is to add a custom decal to it. Adding a custom decals work does take a little bit of prep work and a close eye so we are going to break down the steps to allow you to add your own decals to your car. To get your own decal and see the wide variety available, you can check it out here.
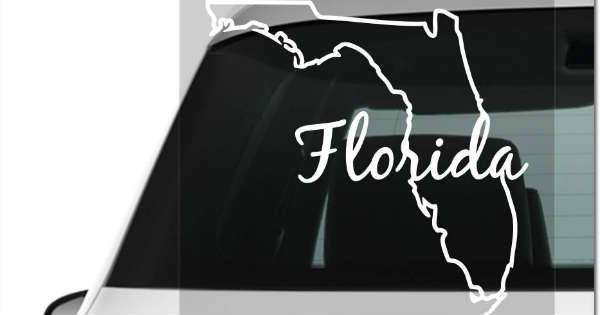
Figure Out Where You Would Like Your Decal
The first step to any decal installation on a vehicle is finding out where you will want to place it. Locate a spot that is flat and has a texture that the decal will be able to adhere to. This can be a window, body panel, or even the dash. You will want to make sure the specific decal that you are getting is made to withstand the elements of the location it will be in.
Dry Fit The Decal
Now that you have found out where you want the decal, it is time to dry fit it. Dry fitting requires you to place the decal on the car with the backing paper still on to see exactly how it is going to look and how you want it positioned. You can even use a piece of tape on the back to help get a better look of the decal from a further distance as well.
Ensure That It Is Centered & Straight
Now that you have dry fit the decal and found out exactly where you want it, you are going to want to make sure that it is straight. To do this, you are going to need a measuring tape or a small level. Set the decal into the position where you want it and measure the distance in multiple spots to the nearest edge to make sure that it is straight. You can also use a small level if the decal is straight and it is going on a flat surface.
Use Masking Tape To Mark The Corners Of The Decal
Once you have it where you want it and know that it is straight, you are going to want to use masking tape to mark the edges of the decal to give you a template of where to place your decal once the backing tape has been removed. Use an L shaped pattern to make corners for the decal to the lineup to make sure your decal is as square as can be.
Prep The Area
In order to ensure that your decal stays put for a long time, you are going to need to correctly prep the surface where you are applying the decal. This will require the use of a fast drying solution such as rubbing alcohol. With a clean, lint-free towel, wipe the area down, apply some rubbing alcohol to the towel, rub down the area, and rub dry. This will ensure that the area is completely clean for a perfect bond.
Peel Off Some Or All Of The Backing
There are two ways to prep your decal for application, peeling off all of the backing or peeling off a partial piece of the backing at the beginning. This will depend on how big the decal is and whether or not you have a helping hand to assist you. While peeling the full backing off is self-explanatory, peeling off a small amount of the backing take a little more practice. You will want to slowly remove little by little as you apply pressure to the decal to ensure you do not bunch up the decal.
Place The Decal On The Car
Now that you have gotten the backing off, it is the moment of truth with placing the decal on your vehicle. You will want to start with one edge and move your way to the end ensuring that you are pressing down on the decal as you go to keep firm pressure for the decal to properly set. You can use a credit card or other soft, firm edge to help.
Ensure There Are No Bubbles
Once you have your decal on the car, use your squeegee or credit card to move out any bubbles. To do this, lay the credit card at a 45-degree angle and slide it down the decal to remove the bubbles, making sure to not be too harsh which could cause ripping or scratches. A tiny bubble will usually come out later once the decal has sat for a while and has had time to settle.
Let Sit For 30 Minutes
Now that your decal is applied and you have worked out most of the bubbles, you are going to want to let it sit for about 30 minutes to get settled into its new home. Simply let the decal sit, preferably in the sun, for half an hour to allow any solution to dry up and the decal to expand a bit.
Squeegee Out Any Remaining Bubbles
After waiting 30 minutes for the decal to completely settle, you are going to want to check for any remaining bubbles that need to be worked out. If you do not have any or have a very tiny bubble, you can ignore them as they will usually disappear after a few days. For bigger, more stubborn bubbles, you will need to use the same technique as before with your squeegee and massage any air bubbles out of your decal. Take this time to ensure that all of the edges of the decal are adhering properly as this is a common site of failure for most car decals.
Maintain Your Decal
When it comes to washing your car, you can use a variety of different chemicals to get the job done. You will want to make sure that the chemicals you are using on your decal are safe enough for the decal to prevent any decomposition or failure of the decal after cleaning it.


